Removing wallpaper might seem like a simple weekend project—but once you start peeling, soaking, and scraping, it can quickly become time-consuming and frustrating. Whether you’re updating a single room or tackling an entire home, deciding between DIY wallpaper removal and hiring a professional can make a big difference in your results, timeline, and budget.
This guide breaks down both options so you can choose what’s best for your situation.
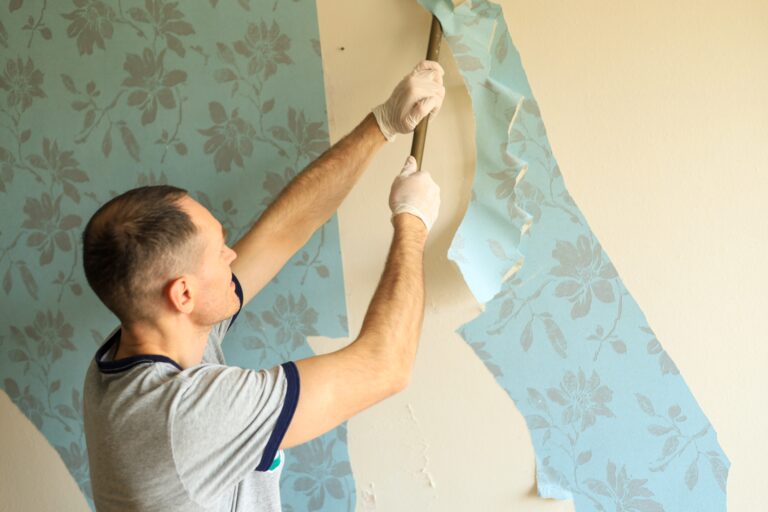
Wallpaper removal is more than just pulling paper off your walls—it’s a detailed, step-by-step process that ensures your surface is clean, smooth, and ready for a fresh finish. Done incorrectly, it can damage your drywall or leave behind residue that affects paint or new wallpaper. Here’s a closer look at what the process typically involves:
Many modern wallpapers are designed with a peelable top layer. This outer layer is removed first, either by hand or with a stripping tool. In some cases, it comes off easily in large sheets, while older or poorly installed wallpaper may tear into smaller pieces, making the job more time-consuming.
Once the top layer is removed, the backing and adhesive underneath need to be loosened. This is usually done using warm water, a vinegar solution, or a commercial wallpaper removal product. For tougher jobs, professionals may use steamers to break down stubborn glue more effectively.
After the adhesive softens, the remaining paper backing is carefully scraped away using specialized tools. This step requires patience to avoid gouging or damaging the drywall underneath. Proper technique is key to keeping the wall intact.
Even after the wallpaper is removed, residue from glue can remain on the surface. The wall is thoroughly cleaned to eliminate any leftover adhesive. Light sanding may also be necessary to smooth out rough spots and create an even surface for painting or refinishing.
It’s common to uncover minor damage during wallpaper removal, such as small holes, dents, or torn drywall paper. These imperfections are patched, skim-coated if needed, and sanded smooth to restore the wall’s appearance before applying paint or new wallpaper.
The level of difficulty can vary significantly depending on several factors:
Wallpaper type: Vinyl, fabric-backed, or multiple layers can be harder to remove
Age: Older wallpaper may have stronger, more stubborn adhesive
Installation method: Poor installation or lack of primer can make removal more difficult
Wall condition: Fragile or damaged drywall requires extra care
Because of these variables, wallpaper removal can range from a simple DIY project to a labor-intensive job best handled by professionals.
💡 Tip: Always test a small section first to see how easily the wallpaper comes off.
While some “peel-and-stick” papers are easy for anyone to handle, you should consider professional help if:
Pro Tip: “Painting over wallpaper might seem like a quick fix, but it often leads to peeling seams and a textured finish that you’ll regret down the road. It’s always better to strip it back to a clean slate.
Option | Estimated Cost |
DIY | $50 – $200 (tools & supplies) |
Professional | $1 – $3 per sq. ft. (varies by difficulty) |
What affects professional pricing?
💡 Good to know: Hiring a professional can actually save money if it prevents wall damage or reduces prep time for painting.
Whether DIY or professional, these challenges often come up:
Professionals are better equipped to handle these issues efficiently.
If time is a priority, hiring a professional is usually the better option.
Wallpaper removal can be simple—or surprisingly difficult—depending on the situation. While DIY may work for small projects, hiring a professional ensures faster results, less stress, and a properly prepared surface for your next upgrade.
If you’re planning a remodel or repainting project, investing in professional wallpaper removal can save you time, improve the final finish, and prevent costly mistakes.