Stucco Storm Damage Repair Guide | Hurricane Stucco Restoration

Storms and hurricanes are among the most punishing forces a home exterior can face. High winds, flying debris, torrential rain, and rapid pressure changes can wreak havoc on stucco walls — leaving behind cracks, chips, holes, water intrusion, and even structural compromise. If your home has stucco siding and recently survived a major storm, acting quickly and correctly is essential.

This comprehensive guide walks you through everything you need to know: how to assess the damage and when to call a professional.

stucco repair and painting services in lake county fl

Why Stucco Is Vulnerable in Storms

Stucco is a durable, time-tested exterior finish made from cement, sand, and lime. Under normal conditions, it’s resilient and long-lasting. But storms introduce threats that stucco wasn’t designed to handle alone:

  • Impact damage from airborne debris — branches, gravel, signage, and even roofing tiles — can crack or gouge the surface
  • Wind-driven rain forces water laterally into even hairline cracks, reaching the lath or substrate beneath
  • Hydrostatic pressure from prolonged exposure to standing water causes the finish coat to bubble, delaminate, or soften
  • Structural movement from wind loads can widen existing micro-cracks into serious gaps
  • Salt spray in coastal areas accelerates deterioration by corroding metal lath and causing rust stains to bleed through the surface


Left untreated, even seemingly minor storm damage creates a pathway for water infiltration — the leading cause of mold, rot, and costly structural repairs.

Step 1: Wait for Safe Conditions Before Inspecting

Before you do anything, wait until the storm has fully passed and local authorities confirm it’s safe to be outside. Then begin your inspection with these safety considerations in mind:

  • Wear gloves, safety glasses, and sturdy footwear when walking around the exterior
  • Watch for unstable trees, downed power lines, and slippery wet surfaces
  • Don’t access a roof or tall ladder in wet or windy conditions
  • Photograph everything before touching or moving anything — documentation matters for insurance claims

Step 2: Conduct a Thorough Damage Assessment

A systematic exterior inspection will help you understand the full scope of repairs needed. Work your way around the entire building, inspecting from the ground and using binoculars for higher sections if needed.

What to Look For

Surface-level damage (cosmetic):

  • Hairline cracks (under 1/8 inch wide)
  • Chipped or missing finish coat sections
  • Surface staining, discoloration, or efflorescence (white salt deposits)
  • Scratches or scuff marks from debris impact

Moderate damage (repair required):

  • Cracks wider than 1/8 inch
  • Hollow-sounding sections when tapped (a sign of delamination)
  • Areas where the stucco has pulled away from the wall
  • Visible gaps around windows, doors, or utility penetrations

Severe damage (professional evaluation needed):

  • Large missing sections that expose the building wrap or lath
  • Exposed or rusted metal lath
  • Water stains or wet spots on interior walls
  • Cracks that run diagonally from window corners (possible structural movement)
  • Bulging or significantly bowed sections of stucco

The Tap Test

Gently tap the stucco surface with a rubber mallet or your knuckles across affected areas. A solid, dense sound indicates good adhesion. A hollow or drum-like sound means the stucco has separated from the substrate — these sections must be removed and replaced, not just patched over.

Step 3: File Your Insurance Claim Promptly

Before making any repairs, contact your homeowner’s insurance company. Most policies cover storm damage, but there are important steps to follow:

  1. Document everything photographically — take wide shots and close-ups of each damaged area
  2. Make a written list of all visible damage
  3. Do not make permanent repairs until an adjuster has inspected (temporary protective measures like tarping or plastic sheeting are typically acceptable and encouraged)
  4. Request a written estimate from a licensed stucco contractor to support your claim
  5. Keep all receipts for any emergency materials or temporary repairs


Acting quickly also matters — many policies require damage to be reported within a specific timeframe after the event.

Step 4: Matching Existing Stucco Texture

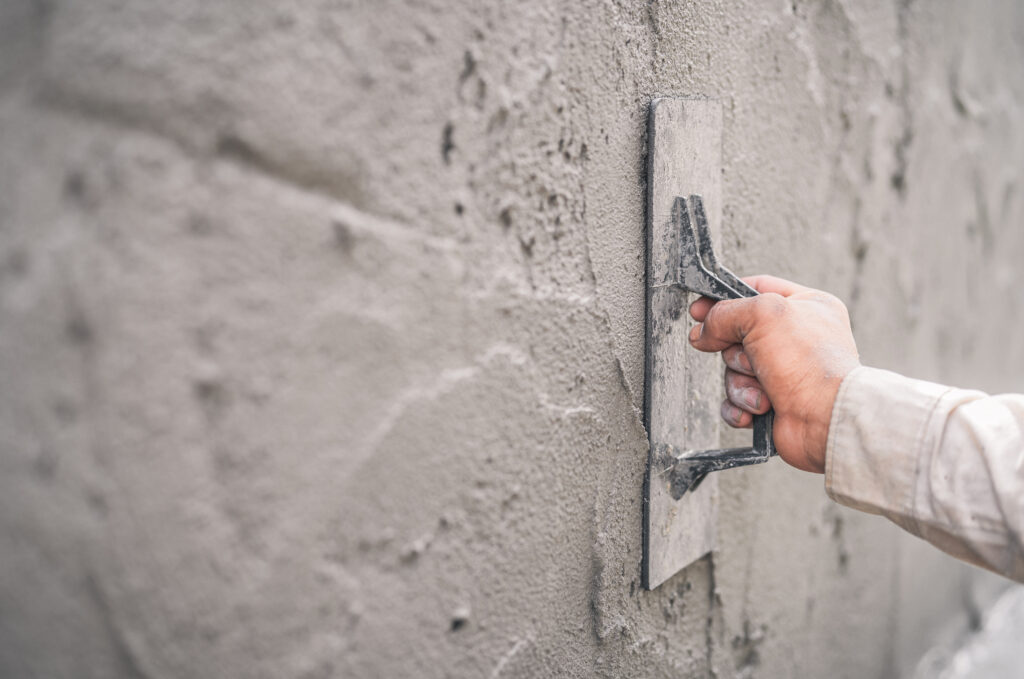
Texture matching is often the most challenging part of a stucco repair — and the most visible if done poorly. Stucco comes in many textures: smooth, sand finish, lace, dash, skip trowel, and more.

Identifying Your Texture

Study the existing surface closely. Take a photo and bring it to your local masonry supply store — staff there are often helpful in identifying textures and recommending matching products.

Common Texture Techniques

Texture Type

Application Method

Smooth

Steel trowel, wet float to polish

Sand finish

Sponge or rubber float in circular motion

Lace / Spanish lace

Stipple brush or roller, dabbed irregularly

Skip trowel

Partial trowel sweeps leaving deliberate skips

Dash

Stiff brush or sprayer flung at the wall

Always practice on a scrap piece of plywood or cardboard before applying to the wall. Getting the consistency and timing right takes a few tries.

Painting to Match

Even a perfectly textured patch will be a different color than the surrounding weathered stucco. Options include:

  • Paint the entire wall or panel — the most reliable way to achieve a seamless appearance
  • Blend with an elastomeric coating — these flexible paints are excellent for stucco and bridge small cracks
  • Color-matched masonry paint — have your hardware store color-match a chip from your wall

Step 5: Prevent Future Storm Damage

Once repairs are complete, take proactive steps to make your stucco more resilient:

  • Apply an elastomeric coating — this thick, flexible paint creates a waterproof membrane that moves with the wall, reducing crack formation
  • Seal all penetrations — caulk around windows, doors, electrical boxes, hose bibs, and any other wall penetrations annually
  • Trim trees and vegetation — overhanging branches are a major source of impact damage during storms
  • Inspect annually — a yearly walk-around inspection each spring helps catch small issues before the next hurricane season
  • Ensure proper drainage — make sure gutters, downspouts, and grading direct water away from your foundation and walls

When to Call a Professional

DIY repairs are appropriate for minor surface damage, but certain situations call for a licensed stucco contractor:

  • Any damage involving structural movement or foundation concerns
  • Exposed, rusted, or damaged metal lath over large areas
  • Water infiltration that has reached interior walls
  • Missing stucco over more than a few square feet
  • Multi-story homes where safe ladder access is not feasible
  • Historic or specialty stucco finishes requiring matched materials


Hiring a professional isn’t just about skill — licensed contractors carry insurance, can pull required permits, and provide warranties on their work. After a major hurricane, reputable contractors book up quickly, so call early

Final Thoughts


Stucco is a beautiful and durable exterior finish, but storm damage demands a prompt, thorough response. The key principles are simple: assess carefully, document everything for insurance, don’t rush the repair process, and match your approach to the severity of the damage.

A well-executed stucco repair isn’t just cosmetic — it’s a critical line of defense for everything inside your home. Whether you tackle it yourself or bring in a professional, addressing storm damage quickly and correctly protects your investment and gives you peace of mind heading into the next storm season.