
Your front door is one of the first things people notice about your home — and one of the hardest-working surfaces on it. Between direct sun, afternoon humidity, and daily use, a Central Florida front door takes more punishment in a year than most interior surfaces take in a decade. So it’s no surprise that faded, chalky, or peeling paint is one of the most common curb-appeal complaints we hear from homeowners.
The good news: repainting a door is one of the most affordable upgrades you can make, and it holds up beautifully when it’s done in the right order, with the right materials. Skip a step — especially prep — and even premium paint will peel or bubble within a season. Here’s how to do it right the first time.
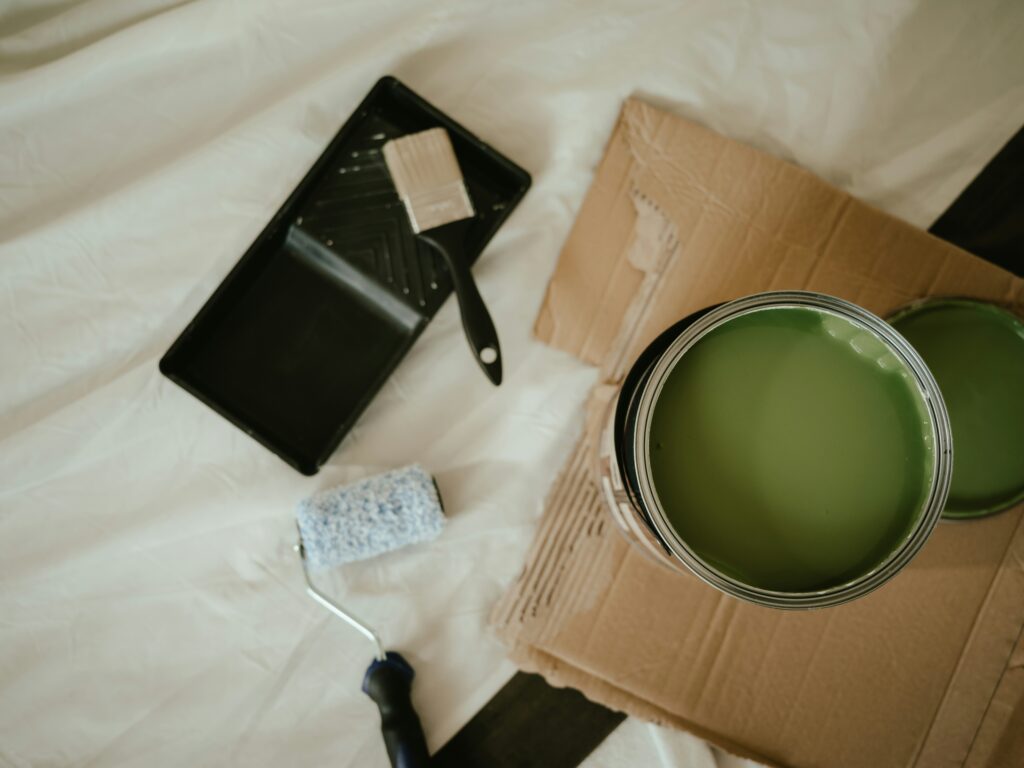
Paint & tools
Prep
Setup & protection
Nice to have
Not all exterior paint performs the same in Florida conditions. Look for a satin or semi-gloss exterior-grade paint — the sheen sheds dirt and cleans up easily, which matters on a surface that gets touched constantly. Confirm the paint is rated for your door’s material (wood, metal, or fiberglass all behave a little differently), and pick a color that plays well with your siding and trim rather than fighting it.
Pull the handle, deadbolt, and any decorative hardware before you start. If a piece won’t come off easily, mask it thoroughly with painter’s tape instead. Either way, this is the difference between a crisp, professional edge and a messy one.
Paint doesn’t bond to dirt, pollen, or grease film — and Florida doors accumulate all three. Wash the door down with mild soap and water, hit any oily spots (handprints near the handle are common) with a degreaser, then rinse and let it dry completely before moving on.
A light pass with 180–220 grit sandpaper knocks down peeling edges, smooths imperfections, and gives new paint a surface it can actually adhere to. Wipe away the dust with a damp cloth afterward. If you’ve sanded through to bare wood anywhere, don’t skip priming that spot.
You don’t always need to prime the whole door, but you do need to prime:
Let the primer cure fully — rushing this step is one of the most common reasons paint fails early.
Work with the door’s natural panel lines rather than across them, and resist the urge to load the brush or roller heavily. Two thin coats, each left to dry completely before the next, will always outlast one thick coat — thick paint is more prone to cracking, sagging, and slow curing.
Surface-dry isn’t the same as cured. Give the final coat several hours (check your paint can for the manufacturer’s specific window) before reinstalling hardware or closing the door normally. Handling it too soon is a fast way to end up with dents, smudges, or a sticky latch.
For a DIY job, plan on a full day when you factor in dry time between coats — most of that is waiting, not working. A professional crew can usually complete the same job in a single visit since they’re not working around a day job’s schedule, and know how to sequence prep, primer, and coats efficiently.
A properly prepped and painted exterior door should hold its finish for 5–8 years in Central Florida’s climate before it needs attention again — sun exposure and how much direct weather the door faces will move that number up or down. Doors that skip primer, get painted in direct sun, or get one thick coat instead of two tend to show wear within a year or two.
A door with heavy damage, extensive peeling, or bare wood in multiple spots is a bigger job than a weekend touch-up — and if you want a flawless finish without the trial and error, that’s exactly what a professional crew is for. Farmers Painting serves homeowners throughout Mount Dora, Orange County, Seminole County, Marion County, and Sumter County, with the prep process and materials dialed in specifically for how hard Florida weather is on exterior surfaces.
A repainted front door is a small project with an outsized payoff — it’s often the single fastest way to make a home look freshly maintained. The results come down to prep, not paint: clean, sand, and prime properly, and even a modest paint job will look professional and hold up for years.
Ready to skip the ladder and the drop cloths? Contact Farmers Painting for a free consultation — we serve Eustis, Tavares, Mount Dora, and homeowners throughout Lake, Orange, Seminole, Marion, and Sumter Counties.