

Painted cabinets are one of the most popular choices in kitchens and bathrooms — they’re clean, versatile, and give any space a fresh, finished look. But they also come with a reputation for chipping, scratching, and peeling over time, especially in high-traffic areas where doors and drawers take constant use. The frustrating part is that most of this damage isn’t inevitable. It’s the result of avoidable mistakes in product selection, surface preparation, application technique, and daily care.
Whether you’re planning a new cabinet paint project or trying to protect a finish you already have, here’s what you need to know to keep painted cabinets looking sharp for years.
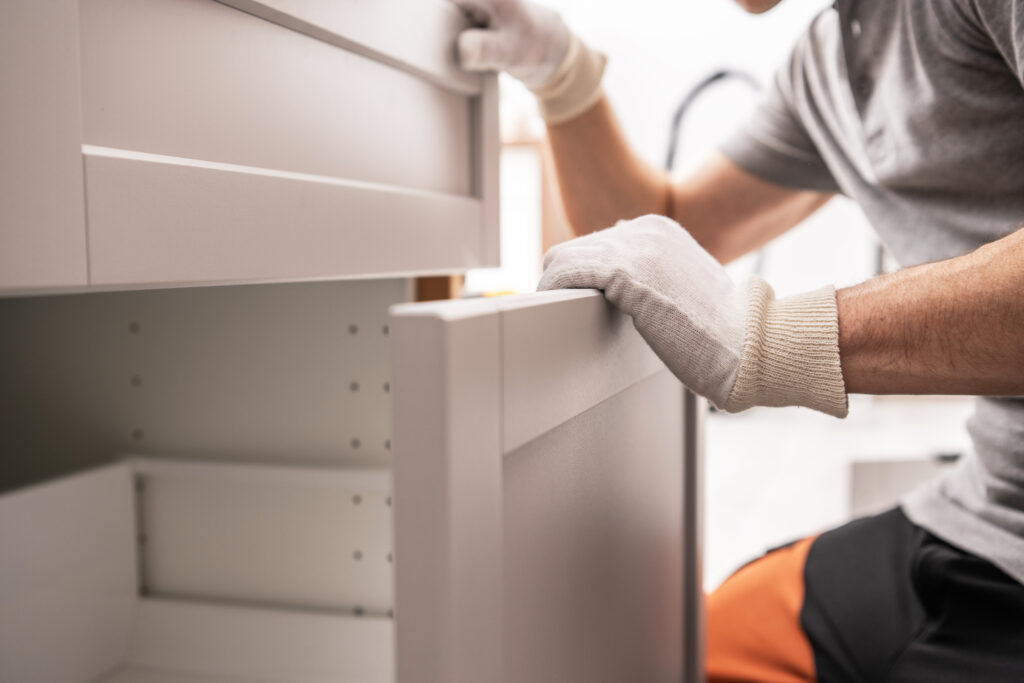
If painted cabinets are going to fail, the failure almost always starts before a single drop of paint is applied. Surface prep is the foundation of a durable finish, and shortcuts here show up as peeling and adhesion failures within months.
Clean thoroughly before painting. Kitchen cabinets accumulate grease, cooking oils, and cleaning product residue that prevent paint from bonding properly. Wipe down all surfaces with a degreaser — a TSP (trisodium phosphate) substitute or a dedicated cabinet cleaner — and allow them to dry completely before moving on. Even cabinets that look clean often have an invisible film that causes adhesion problems.
Sand every surface. Sanding scuffs the existing finish and gives the primer and paint a mechanical surface to grip. For previously painted or finished cabinets, a 120 to 150-grit sanding is typically sufficient. After sanding, wipe away all dust with a tack cloth before priming. Skipping sanding is one of the most common reasons painted cabinets peel prematurely.
Fill imperfections. Dents, dings, and wood grain in MDF or hardwood can telegraph through paint and create weak spots. Use a lightweight spackling compound or wood filler, allow it to cure fully, and sand smooth before priming.
Primer isn’t optional on cabinets — it’s the bonding layer that ties the topcoat to the substrate and blocks tannins and stains from bleeding through. Using the wrong primer, or skipping it entirely, is a direct path to peeling.
For cabinet painting, a high-adhesion bonding primer is the right choice, especially on previously painted surfaces, thermofoil, or laminate. Oil-based or shellac-based primers are particularly effective because they bond aggressively to slick surfaces and block stains better than most water-based alternatives. If you prefer a water-based option for low odor and easy cleanup, look specifically for primers labeled as “bonding” or “adhesion-promoting.”
Apply primer in thin, even coats and allow full cure time between coats — not just dry-to-touch time. Rushing primer cure is another common cause of poor topcoat adhesion.
Not all paint is created equal, and standard wall paint is not appropriate for cabinets. Cabinet surfaces need a finish that cures to a hard, durable shell that can withstand repeated contact, moisture, and cleaning — qualities that flat or eggshell wall paints simply don’t provide.
Look for paint specifically labeled for cabinets, trim, or furniture. The most durable options include:
Sheen level also matters. Satin and semi-gloss finishes are the standard choices for cabinets because they cure harder, clean more easily, and resist moisture better than matte or eggshell finishes.
Thick paint coats are a leading cause of chipping. A heavy application looks fine initially but doesn’t cure evenly throughout its depth, leaving a finish that’s softer and more brittle than it should be. Thin coats cure more completely and bond more thoroughly to each other and to the primer beneath.
Apply two to three thin coats rather than one thick one, and allow each coat to dry according to the manufacturer’s recommendations before applying the next. Light sanding with 220-grit sandpaper between coats (followed by dust removal) smooths any nibs or dust particles and improves intercoat adhesion.
Use a high-quality synthetic brush for detail work and a fine-nap foam or microfiber roller for flat surfaces to minimize brush marks and texture.
This is where even carefully executed paint jobs often run into trouble. Paint can be dry to the touch in an hour and dry enough to recoat in several hours, but that doesn’t mean it’s cured. Most cabinet paints take seven to thirty days to reach their full hardness, depending on the product and environmental conditions.
Putting cabinets back into heavy use before the paint has fully cured dramatically increases the risk of early chipping and scratching. During the cure period:
Mark your calendar with the manufacturer’s stated cure time and treat the cabinets with extra care until that date passes.
Physical impact is one of the primary causes of chipping on painted cabinets — specifically, the impact at the point where doors and drawer fronts meet the cabinet frame when they close. Over time, this repeated impact chips paint along door edges and at contact points, and no quality of paint can fully compensate for the mechanical stress.
Soft-close hinges and drawer slides are one of the best investments you can make to protect a painted cabinet finish. They bring doors and drawers to a gentle, controlled stop rather than allowing them to slam, eliminating the impact that chips paint at edges and corners. If your cabinets don’t have soft-close hardware, retrofitting it is relatively affordable and straightforward.
In addition to soft-close hardware, small self-adhesive bumper pads placed inside the cabinet frame at the door contact points provide a cushion that further absorbs closing impact. These clear or felt pads are inexpensive, easy to install, and make a noticeable difference in how quietly and gently cabinet doors close — and in how long the paint at those contact points lasts.
Certain areas of painted cabinets take far more abuse than others — the edges of doors where fingers grip, the area around knobs and pulls, and the front faces of lower cabinets near the floor. These spots benefit from extra attention.
Consider applying a clear protective topcoat, such as a water-based polycrylic or cabinet-specific clear sealer, over the finished paint in these high-wear zones. Not all paint systems are designed to accept a clear topcoat without adhesion issues, so check the manufacturer’s recommendations first or test in an inconspicuous area.
Cabinet hardware — pulls and knobs — also dramatically reduces direct finger contact with the painted surface. If your cabinets don’t have hardware, adding it is one of the simplest ways to protect the paint on frequently used doors and drawers.
Harsh cleaning products destroy painted cabinet finishes faster than almost anything else. Abrasive scrubbers, bleach-based cleaners, ammonia, and even some all-purpose sprays can dull, soften, or strip paint over time.
For routine cleaning:
For grease and cooking residue in kitchen cabinets, a diluted white vinegar solution or a cabinet-specific cleaner is effective without being harsh. Avoid spraying anything directly onto cabinet surfaces — spray the cloth first.
Even with the best preparation and care, minor chips and scratches can happen. The key is addressing them promptly before moisture, grease, or repeated contact allows the damage to spread.
Keep a small quantity of your cabinet paint stored in a sealed container for touch-ups. Clean and dry the damaged area, apply a tiny amount of paint with a fine artist’s brush, and feather the edges to blend with the surrounding finish. Small touch-ups done quickly and carefully are nearly invisible; ignored chips grow larger and more visible over time.
For peeling that covers larger areas, the underlying cause — typically poor adhesion from inadequate prep or incompatible products — needs to be addressed rather than just painted over. Peeling that’s painted over will continue to peel, taking the new layer with it.
Painted cabinets that chip, scratch, and peel are almost always the result of preventable mistakes — wrong products, rushed prep, insufficient cure time, or harsh daily treatment. Cabinets that are properly prepared, painted with the right materials, allowed to cure fully, and cared for thoughtfully can hold a beautiful finish for a decade or more with only minor touch-ups along the way.
The investment in doing it right from the start — or in understanding how to protect and maintain a finish you already have — pays off every time you walk into your kitchen or bathroom and see cabinets that still look the way they did on day one.