Painting drywall looks straightforward — roll on some paint, let it dry, done. But anyone who has lived with a paint job that shows every seam, flashes unevenly in raking light, or peels from poorly primed surfaces knows that the gap between a passable result and a truly professional one is significant. The difference rarely comes down to talent. It comes down to process — the right preparation, the right materials, and the right application technique applied in the right order.
Whether you’re painting newly installed drywall or refreshing an existing interior, here’s how to get results that look clean, smooth, and built to last.
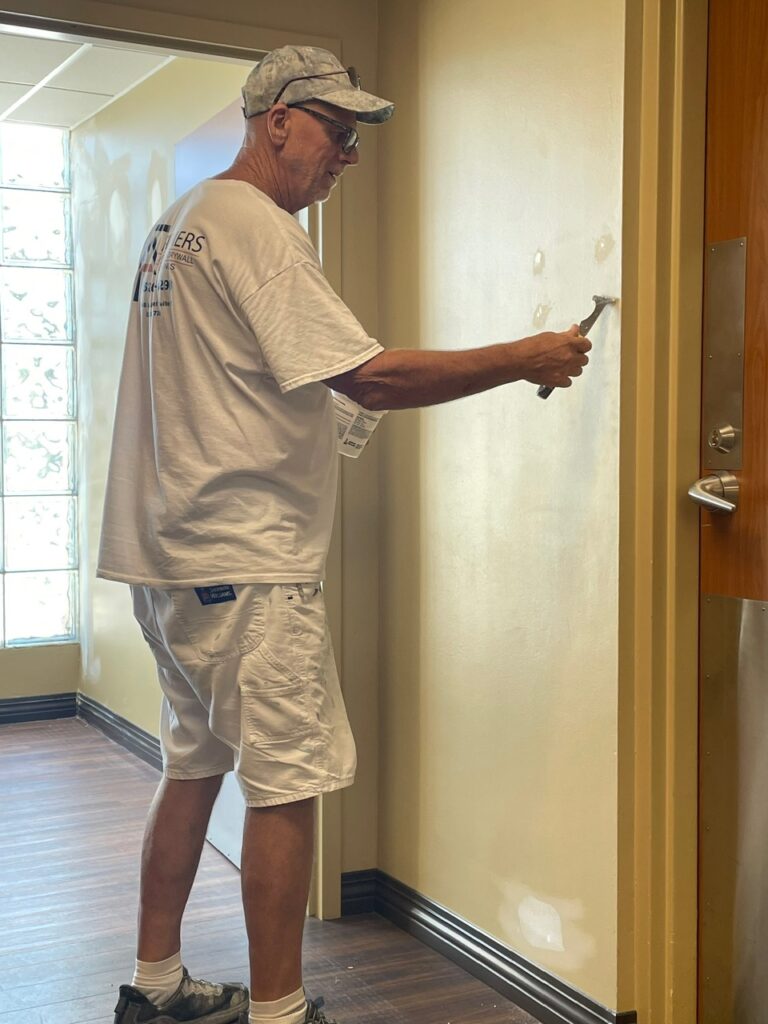
Drywall is a composite material — a gypsum core sandwiched between two layers of paper facing. The paper surface is relatively smooth and consistent across the field of the board, but the joints between boards are finished with joint compound (mud) that, when sanded, creates a slightly different surface texture and porosity than the surrounding paper. Screw dimples, corner bead, and any skim-coat repairs add further variation.
This inconsistency is the central challenge of painting drywall. Each material — bare paper, dried joint compound, sanded areas — absorbs primer and paint differently. Without proper preparation and priming, these differences show up as flashing: areas where the sheen, color saturation, or texture visibly differs from the surrounding surface, especially noticeable under natural light or when light rakes across the wall at a low angle.
Understanding this from the start shapes every decision that follows.
Paint cannot hide poor drywall finishing — it magnifies it. Before any paint touches the wall, the drywall finishing must be complete and correct.
Inspect joints and seams. All taped joints should be smooth and feathered out wide enough that no edge is detectable by running your hand across the surface. High spots, ridges along tape edges, and tool marks left in the compound all telegraph through paint.
Check screw dimples. Every screw dimple should be filled flush with joint compound. Dimples left unfilled or overfilled create visible shadows in finished walls.
Sand carefully and completely. After the final coat of joint compound has dried fully, sand the entire finished surface with 120-grit sandpaper on a pole sander, then finish with 150-grit. The goal is a uniformly smooth surface with no detectable ridges, bumps, or transitions at any seam or repair. Work in good lighting — a work light held at a low angle to the wall reveals imperfections that overhead lighting conceals.
Skim coat for a Level 5 finish when needed. In spaces where lighting is critical — rooms with large windows, spaces with recessed lighting that creates dramatic raking light across the walls, or rooms receiving a gloss or semi-gloss finish — a skim coat of joint compound applied over the entire wall surface creates a perfectly uniform substrate. This is called a Level 5 finish, the highest drywall finishing standard, and it eliminates flashing almost entirely. It requires skill and practice but delivers a result that no amount of paint layers can replicate from a standard Level 4 finish.
Clean up dust thoroughly. Drywall sanding produces a fine, pervasive dust that settles on every surface. Wipe walls down with a dry microfiber cloth or use a vacuum with a brush attachment before priming. Dust contamination under primer affects adhesion and creates a gritty texture in the finished paint.
Priming newly finished drywall is not optional. It is the single most important step between finishing and painting, and cutting it out in favor of applying an extra coat of paint instead is one of the most common mistakes that separates amateur results from professional ones.
Why primer matters on new drywall: New drywall paper is highly absorbent. When paint is applied directly to unprimed drywall, the porous paper soaks it up unevenly — the paper facing absorbs at one rate, the dried joint compound absorbs at another, and sanded areas absorb at yet another. The result is flashing: an uneven sheen and color across the wall surface that no number of additional paint coats will fully correct, because the absorption differential persists beneath every layer.
Primer seals the surface uniformly, equalizing the absorption rate across paper, compound, and repaired areas before any paint is applied. Once the primer has sealed the surface, topcoats lay down evenly and the finished result is consistent across the entire wall.
Choosing the right primer: For new drywall, use a PVA (polyvinyl acetate) drywall primer, which is specifically formulated to seal the high-absorbency surface of new gypsum board. PVA primers penetrate and seal the paper and compound, provide excellent adhesion for topcoats, and are available in both roll-on and spray formulas. Standard interior latex primers work but require more product to achieve the same sealing effect.
For previously painted walls being repainted, a quality latex or alkyd primer is appropriate, particularly if the walls have stains, significant color changes, or surface repairs that need to be sealed before topcoating.
Apply primer evenly and completely. Roll primer onto the entire wall surface without skipping areas or applying it unevenly. Thin spots in the primer layer allow the underlying surface differences to affect the topcoat. Allow the primer to dry fully according to the manufacturer’s directions before sanding or painting.
Light sand after priming. Once the primer has dried, lightly sand the entire primed surface with 150 to 180-grit sandpaper. Priming raises the grain of the drywall paper slightly and can also pick up any dust particles that were present. A light sanding knocks these down and leaves a perfectly smooth, uniform surface for the topcoat. Wipe away sanding dust with a microfiber cloth before painting.
The quality of paint matters more on drywall than many homeowners expect. Higher-quality paints contain more pigment, better binders, and improved leveling properties that directly affect how smoothly they apply and how consistently they cover.
Sheen selection: The sheen level affects both the appearance and the durability of the finished wall.
Paint quality: Choose a premium interior paint from a reputable manufacturer. Higher-cost paints aren’t marketing — they contain more titanium dioxide (the primary hiding pigment), better-quality acrylic binders, and flow additives that help the paint level out before it dries. The practical result is better coverage per coat, smoother application, and a more uniform finished appearance. The difference in cost between a mid-grade and premium gallon of paint is minor compared to the labor involved in applying it.
Correct application technique preserves all the preparation work done to this point and determines whether the finished wall looks smooth and even or streaky, textured, and uneven.
Use quality tools: A cheap roller cover leaves texture, sheds fibers into the paint film, and applies paint unevenly. Use a quality 3/8-inch nap roller cover for smooth drywall surfaces — thicker nap for textured walls. For cutting in at edges, corners, and trim, use a quality 2 to 2.5-inch angled sash brush. Quality tools are reusable and directly affect the finished result.
Cut in before rolling: Use the angled brush to cut in a two to three-inch band of paint along all edges — ceiling lines, corners, trim, and outlets — before rolling the field of the wall. This creates a wet paint edge that the roller can blend into while still wet, preventing visible lap lines between the cut-in areas and the rolled sections. Always keep a wet edge when cutting in; working in small sections and rolling immediately after cutting in prevents the cut-in paint from drying before the roller reaches it.
Roll in a consistent pattern: Load the roller evenly and apply paint to the wall in a W or M pattern across a three-to-four-foot section, then fill in the pattern with parallel strokes without reloading. This distributes paint evenly across the section before spreading. Finish each section with light vertical strokes from top to bottom — called laying off — to eliminate roller marks and unify the texture. Always maintain a wet edge at the section boundary so the next section blends seamlessly.
Apply multiple thin coats: Two thin coats of paint applied correctly will always outperform one thick coat. Thick coats sag, take longer to dry, and often show roller texture more prominently. Allow each coat to dry fully according to the manufacturer’s directions before applying the next. Rushing the recoat leads to lifting, poor adhesion between coats, and a less uniform finish.
Maintain consistent lighting during application: Work in consistent lighting conditions and periodically check the wet wall from a low angle to spot any missed areas, runs, or roller texture while the paint is still workable.
Skipping primer on new drywall. Nothing undermines a paint job faster. The flashing that results from unprimed drywall often can’t be corrected with more paint — it requires stripping back and priming correctly.
Painting over dust. Drywall dust contamination under primer and paint creates a gritty, poorly adhered surface. Clean thoroughly after every sanding step.
Using low-quality roller covers. Fiber shedding from cheap covers embeds in the wet paint film and creates a texture that can’t be rolled out. The savings on a cheap roller are far outweighed by the results.
Applying paint in poor lighting. Missed areas, uneven coverage, and runs are easy to see under proper lighting and easy to miss in dim conditions — only to become obvious after the paint dries.
Rushing dry times. Paint that isn’t fully dry between coats doesn’t build the film properly and is vulnerable to lifting or streaking when the next coat is applied.
Ignoring surface imperfections. Paint does not hide drywall flaws — it accentuates them, especially under gloss sheens and raking light. Address every imperfection during the finishing and priming stages, not the painting stage.
Smooth, professional drywall painting is achievable by any homeowner willing to follow the process correctly. The preparation stages — proper drywall finishing, thorough cleaning, and quality priming — do more to determine the final result than the painting itself. Rushing through prep to get to the painting faster is the single most common reason interior paint jobs disappoint.
Invest the time in each stage, use quality materials throughout, and apply paint with deliberate technique. The result is walls that look genuinely finished — smooth, consistent, and professional in every light — and a paint job that holds up beautifully for the years ahead.